Face Selection Tool
|
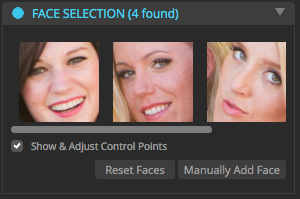
The corrections applied by many of the tools in the Eyes, Face, Skin and Makeup Groups apply their corrections only to faces that have been identified in your photos. This Face Selection Tool allows you to see which faces were automatically identified. Clicking on one of the faces will zoom the preview image to that face.
|
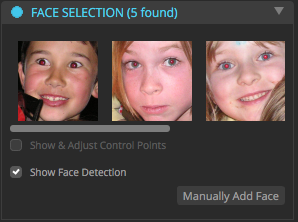
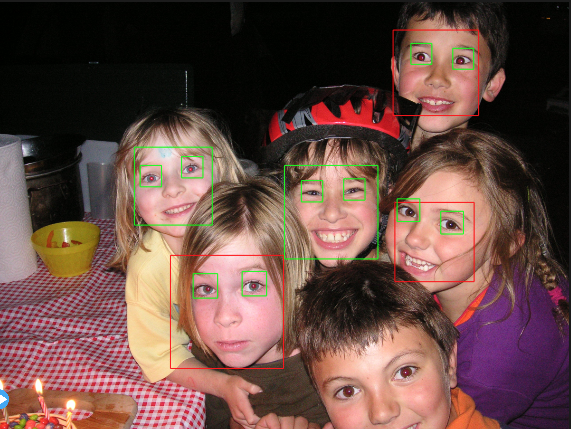
This control allows you to visualize the faces that our face detection library is able to find. This is different than the "Show & Adjust Control Points" option, which only detects faces that can be corrected using the Beautify correction tools. Faces that are detected are identified with the following:
•face with smile = green face rectangle
•face without smile = red face rectangle
•eyes open = green eye rectangle
•eyes closed = red eye rectangle
If there are faces in your photo that are not selected, you can add them with the "Manually Add Face" button. For example, in the screen below, you will see only three of the four faces were automatically identified:
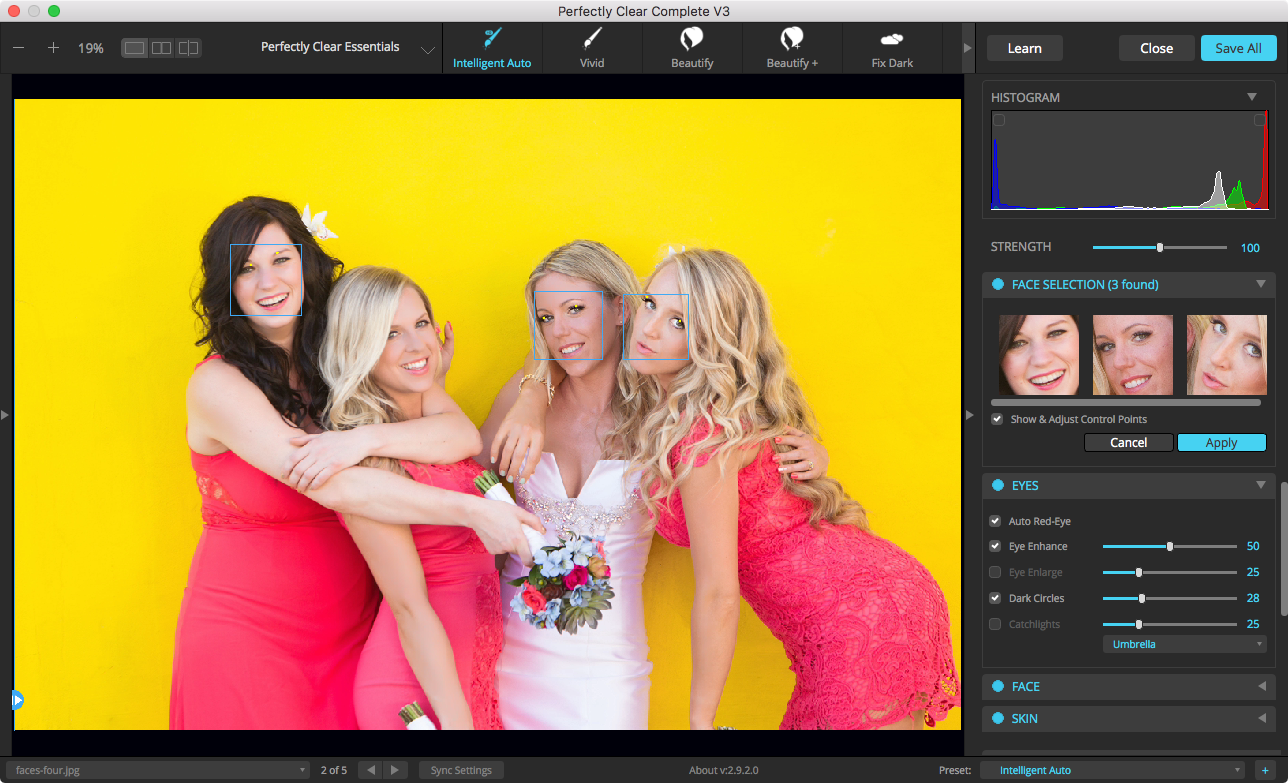
The blue outlines in the preview image indicate that the second face was not automatically identified. To manually add this face, click the Manually Add Face button in the Face Selection tool, then click the left eye, followed by the right eye of the face you'd like to add, then click "Apply". Now you'll see the additional face has been identified.
You can also move the eye center points to affect the position of several of the Eyes and Face corrections. Many factors are considered for the placement of the corrections, and these eye centers are just one of these factors. This means that moving one point by a fixed amount will not also move the corrections by an identical amount. You can experiment with various placements of these points until you get the best looking results.
If you make a mistake or want to start this process over, simply click the 'Reset' button that will appear in the Face Selection tool once any corrections have been made: