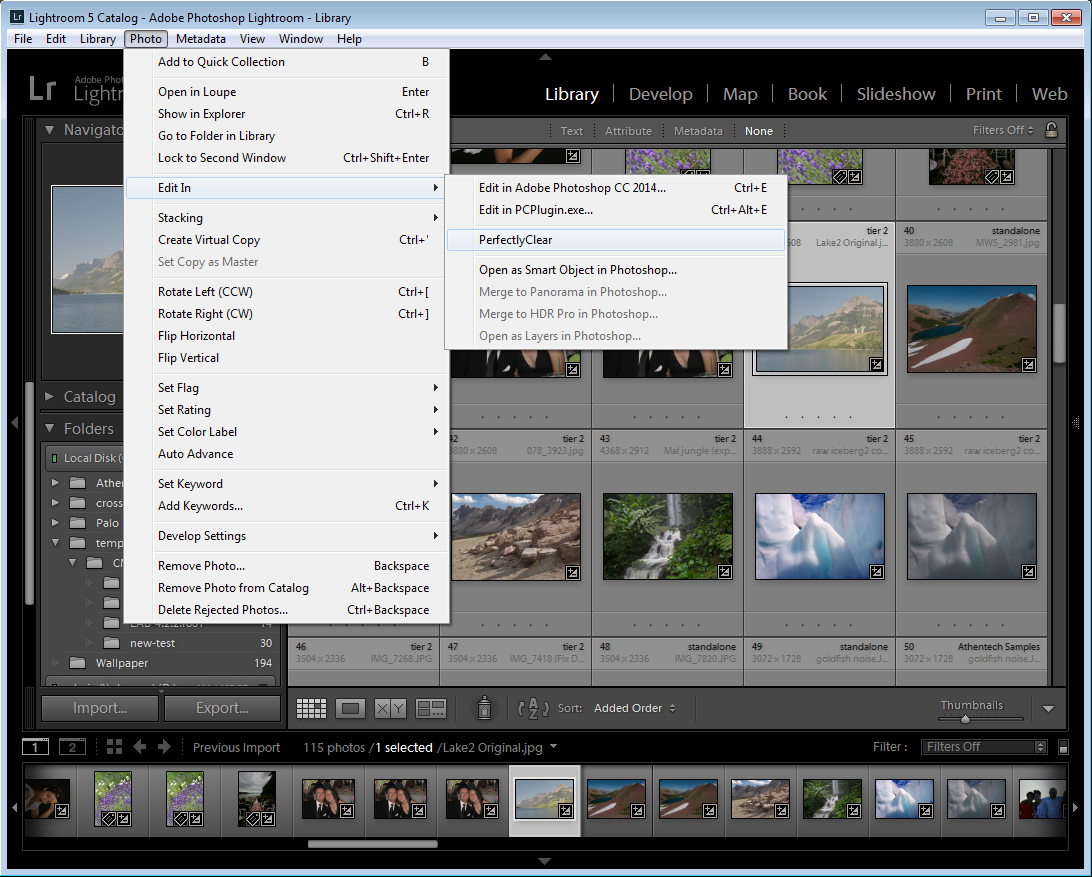
This method is great for correcting small numbers of photos at a time. Select one or a few images in Lightroom, and right-click (or select the “Photo” menu) and select Edit in > Perfectly Clear.

Lightroom will ask you if you would like to:
1.Edit a Copy With Lightroom adjustments - This is the only option available if you are working with raw files. This option applies any adjustments you’ve made in Lightroom, creates a new image file, and sends that new image to Perfectly Clear
2.Edit a Copy – This duplicates the original image file, and sends it ,unaltered, to Perfectly Clear
3.Edit Original – This sends the original file to Perfectly Clear, which will then alter the original image and Lightroom will re-import the altered file.
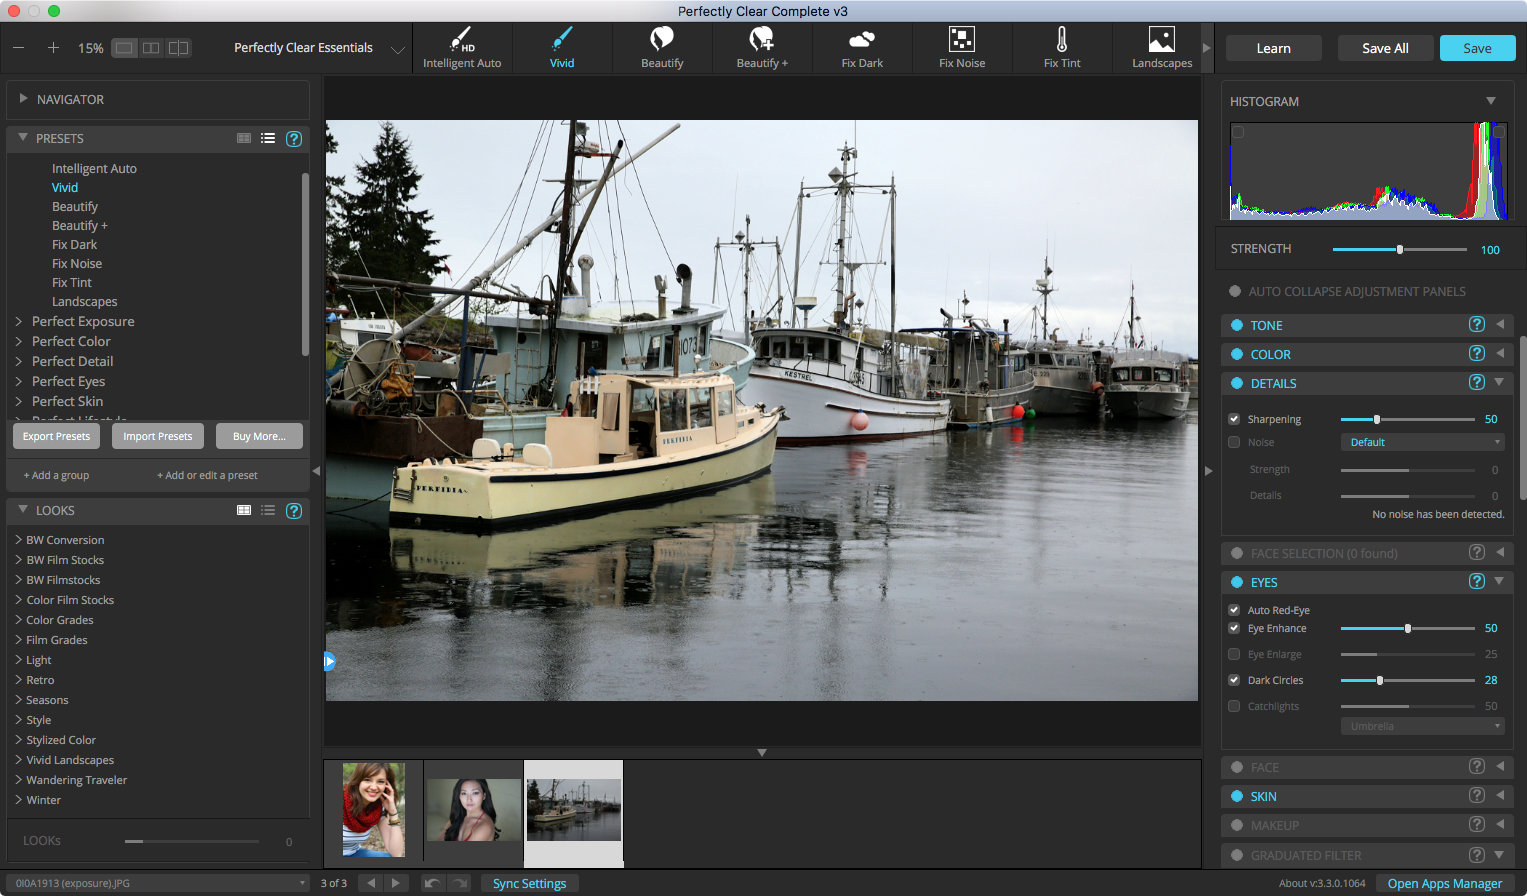
If you have more than 1 photo selected then our plug-in will load all photos and you can view and tweak them individually by pressing the “<” or “>” buttons (located bottom right) within the same session:
![]()
Please note that Perfectly Clear will not work on .psd files (this is due to the complex and proprietary nature of the Adobe Photoshop file). Also, if you want to process very large volumes of photos (ie – more than 10), we suggest you use the Export option (you can still view and fine tune each photo) as opposed to “Edit In”. Lightroom imposes some technical limitations on large volumes of photos with external image editors when using Edit In. See the chapter on Workflow for more details.
The plugin will open with your image loaded in the Preview Window:

"Edit In.." Troubleshooting
If Perfectly Clear does NOT appear when you select “Edit In”, then go to “Edit > Preferences” (for Mac, it is under “Lightroom” menu) and select the “External Editing” Tab. Then in the middle of your screen where it says “Additional External Editor”, press the “Choose” button. Navigate to:
Windows
C:\Program files\Athentech\Perfectly Clear Plug-in LR v3
Or
C:\Program files (x86)\Athentech\Perfectly Clear Plug-in LR v3
Select the file called “PCPlugin” (this is a .exe file). You will see the “Application:” now says “PCPlugin.exe”. Now, under the “preset:” drop down choose “Save Current Settings as New Preset…” and type “Perfectly Clear” and press the “Create” button.
Mac
/Application/Athentech/Perfectly Clear Complete v3/PerfectlyClearLR.app
Then press “ok”, exit Lightroom, and re-launch, and Perfectly Clear should now appear under Edit In.