AI Preset Selection ensures that the best correction is applied to every image. We are able to optimize corrections depending on the contents...
Read moreDP2: Getting Started with Perfectly Clear
If you are already using DP2 to process your lab’s photo workflow, then adding Perfectly Clear AI corrections couldn’t be easier. The first step will be deciding if you want to process images remotely in using our Perfectly Clear WebAPI, or if you want to correct the images on your servers and workstations using our Perfectly Clear SDK and command line application.
The DP2 / Perfectly Clear integration is offered as a new feature in the latest DP2 update – just published in early 2022, so you’ll need to upgrade DP2 to gain access. Then:
Using the WebAPI
If you want to process images in the cloud, then you can get this totally up and running yourself in just a few minutes. The process is:
- Sign up at perfectlyclear.io for an account, add your billing details, and find your API Key. Note: You’ll receive 100 free corrections through Web API. Contact sales@eyeq.photos to continue testing with more images.
- From Within DP2, click Perfectly Clear Setup, then in the Setup Parameters tab, paste your WebAPI Key:
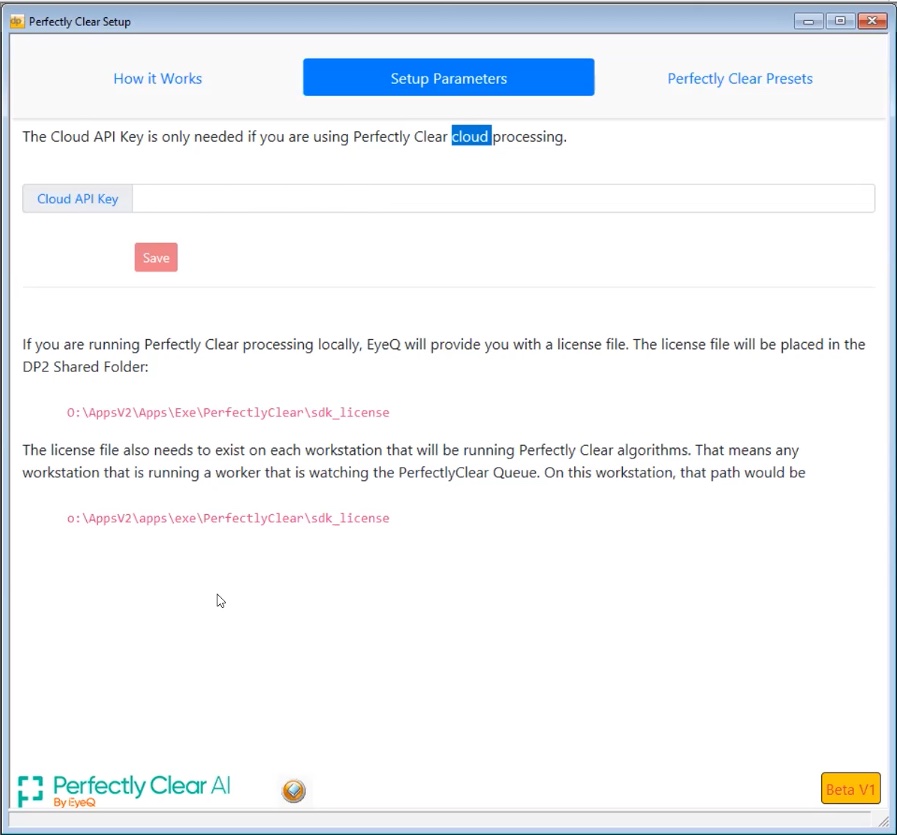
That’s it! Jobs or photos from jobs can now be processed with our WebAPI.
When using the Web API, you will default to the Universal model of AI Preset selection. This was created for a wide array of photos. If your business has imagery of people, landscapes, and objects, this model is for you. We also have a Pro model that was created for professional portrait photographers. This can be used by professional portrait photographers, school and sports photographers, event photographers, etc. If you would like to switch to the Pro model, directions are here. You can learn more about the difference between the two models here.
Using the SDK / CLI
To process photos locally on your servers or workstations:
- First, you’ll need to contact your EyeQ Account Manager for access to our SDK. We’ll provide a single ZIP file with everything you need.
- Then, unzip that file to the “PerfectlyClear” folder in your DP2 folders on every machine where image corrections will take place. The exact folder will be unique to your lab, and the Setup Parameters tab (shown above) will show where this is for your configuration.
OK – that’s it. Now the Perfectly Clear command line application is installed and DP2 can send photos to it for corrections.
Setting up Correction Presets
The next step will be to decide what presets to apply to your images. We’re here to help with that, too, so contact your EyeQ Account Manager for assistance. Once you are finished, you will:
- Export “.preset” files for all corrections you want to apply with DP2. These can be AI Presets that use our AI Preset Selection process, or these can be single presets to apply to your photos.
- Copy these to the “Preset” folder within DP2 – see the exact folder in Learn About Perfectly Clear Presets. Create folders here to arrange your presets to any “Categories” that you choose.
- Important: If you are using the WebAPI to process your photos, you also need to upload these .preset files to your WebAPI Account.
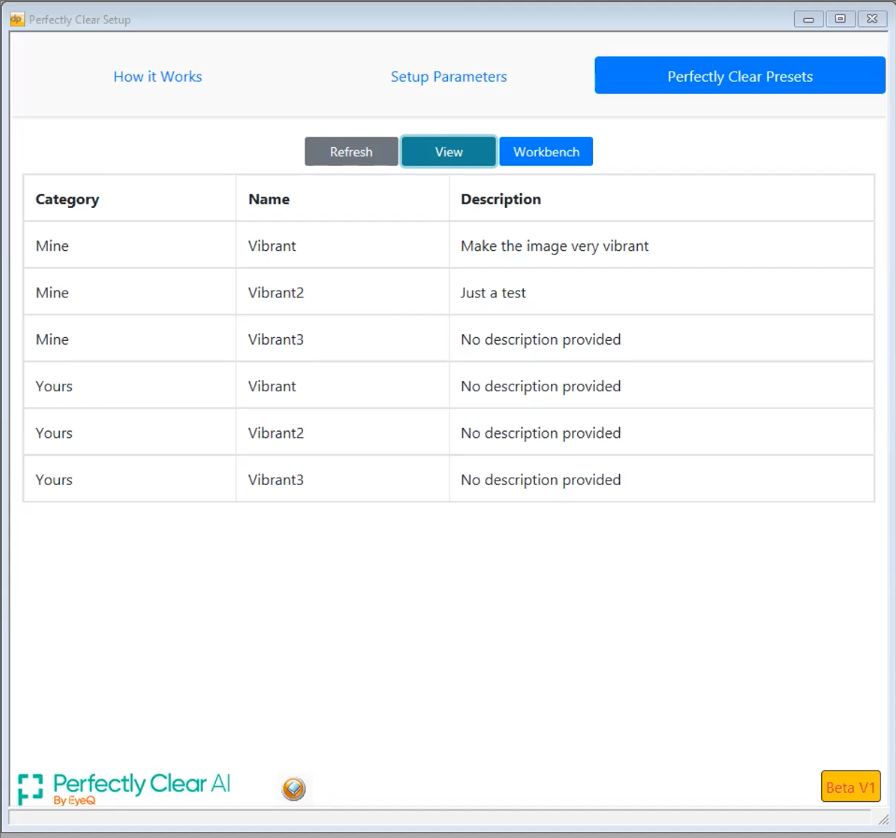
- On the Perfectly Clear Presets tab, you can see all the presets that DP2 is aware of. In this example, there are two “Categories” of presets – “Mine” and “Yours” – but you can create any grouping or names for these folders that work for you.
Sending Jobs or Photos to be Corrected
OK, that’s all there is to the setup. To use Perfectly Clear, select one Job, Several Jobs, or one or more photos from within a Job. Then right-click, select Balance, then Enhance images with Perfectly Clear. The following dialog will appear:

First, choose the ‘Category’ where you saved your .preset files, then select the specific Preset to apply. If you setup both Cloud (WebAPI) and Local (command line) processing, you can choose which to use here as well. Then, click ‘Submit’ to correct the selected photos.