Perfectly Clear has undergone some major updates since the inclusion of AI in our automatic photo correction technology. Artificial intelligence allows us to...
Read moreHow can I use Background Removal in the Cloud App?
In order to start testing, you’ll need our team to give you access in Cloud. Make sure you’re signed up for an account, then contact us to give you access to test video in Cloud.
Step 1: Create a Cloud account
Background Removal is available in our Cloud platform for both testing and production. Create a free account here to get started, then let us know once you have so we can give you access to test or use Background Removal — we’ll need to unlock the application side of our Cloud Platform for you. You’ll have 100 free images to test!
Step 2: Start a new job
Once you’ve logged into your Cloud account:
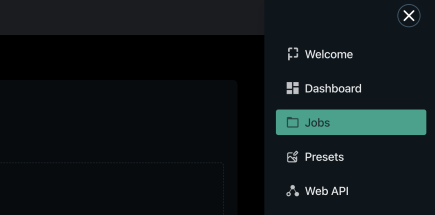
1. Open the menu in the top righthand corner of the Cloud App and Navigate to the “Jobs” tab
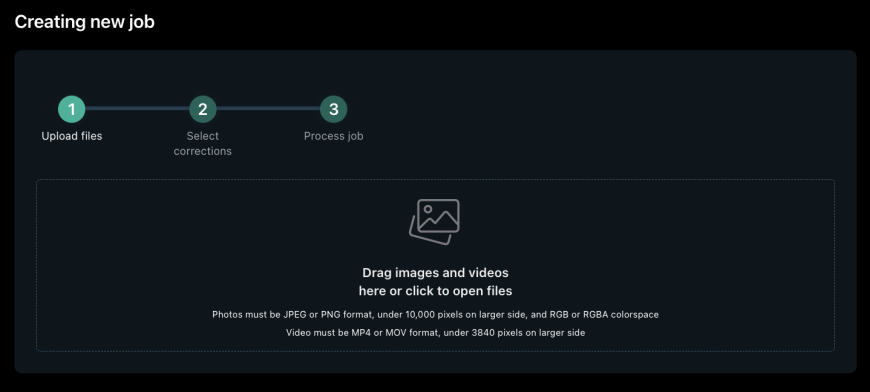
2. Load in the images that you would like to remove the backgrounds from
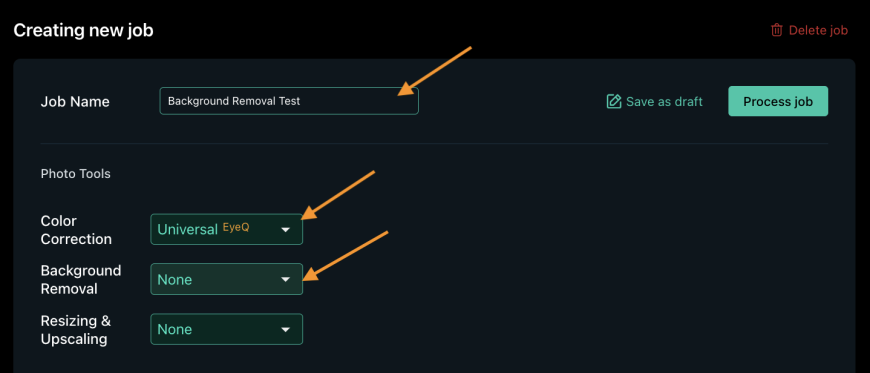
Step 3: Name your job and choose your parameters
- Choose a descriptive title for your job
- If you’d like to color correct your images during your Background Removal testing, you can choose an AI Preset Model (learn more about choosing the correct AI Preset Model here). If you would NOT like to apply color correction, select “None.”
- On the “Background Removal” dropdown, choose “Remove Background.”
Step 4: Process your job
Simply click the “Process job” button to begin processing.
Depending on your parameters, sizing, etc, it may take a few minutes to process your images.
Step 5: Download your zip file and assess!
Now’s the fun part! Once your files have processed, you will receive an email with a zip file link that contains your processed photos. Click the link to download your zip file and see how they turned out. You can also download the zip file from within the Cloud App.
Contact us with any questions
Our first iteration of Background Removal was created for attractions, theme parks, and travel / tourism businesses. Version two is determined by customer feedback, so let us know if you have any questions or requests!