Thanks for testing Auto Crop! Before you start testing, please note that Auto Crop is meant to be tested with a consistent set...
Read moreHow do I test Auto Crop in Workbench?
Thanks for testing Auto Crop!
Before you start testing, please note that Auto Crop is meant to be tested with a consistent set of images that are from the same shoot shot from the same distance. Auto Crop will work with different positions (for example, facing the camera and then facing left) as long as they are in the same aspect ratio and taken from the same distance.
Here’s what you need to know about testing Auto Crop in Workbench. This is a great starting point to test our automatic cropping before implementing — you can either use our Auto Crop in your own workflow or build it into your offering through our variety of SDKs and APIs.
Here’s how to test with Workbench, our image testing tool:
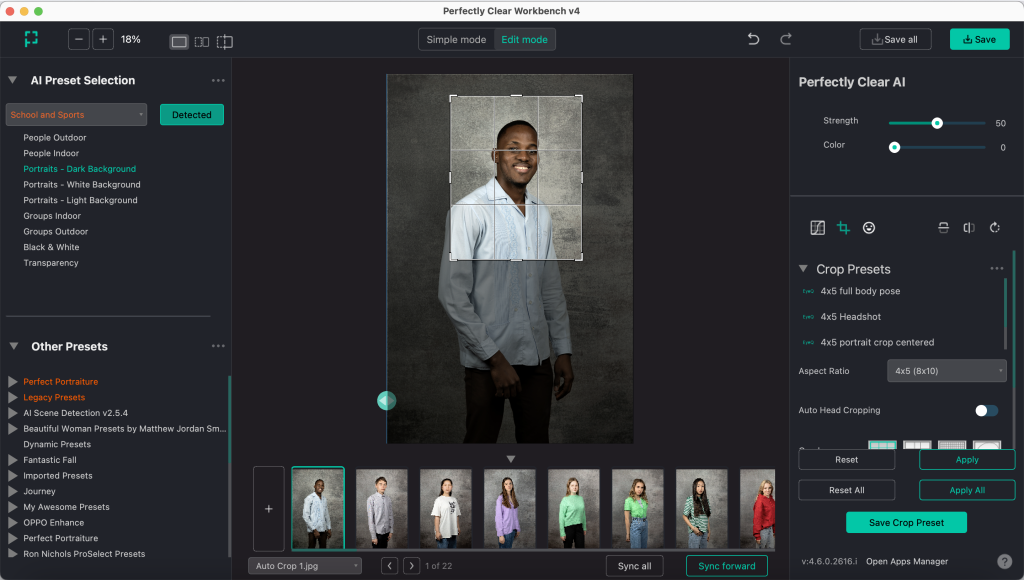
1. Launch Workbench and load in the set of images you wish to crop. You can use any image as a starting point to choose your crop settings. If you don’t have Workbench, you can request a free download here.
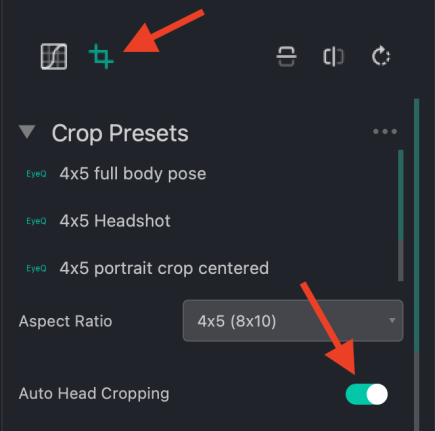
2. Make sure you are in Edit Mode, then click the crop icon in the right hand panel to open crop settings. Make sure you turn the “Auto Head Cropping” widget to on.
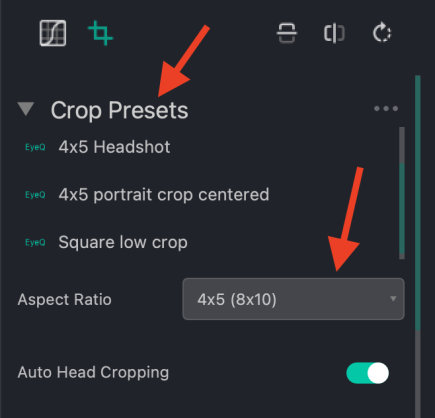
3. Choose your crop. You can do this by choosing a “Crop Preset” or by choosing an aspect ratio. Crop Presets make it easy to set your usual cropping parameters for repeated use.
Note: the “Custom” option under “Aspect Ratio” allows you to enter your own aspect ratio.
4. Move and/or resize the box over the image to set your desired crop positioning. This can be done on any image and is what the crop will be based off of for the rest of the job.
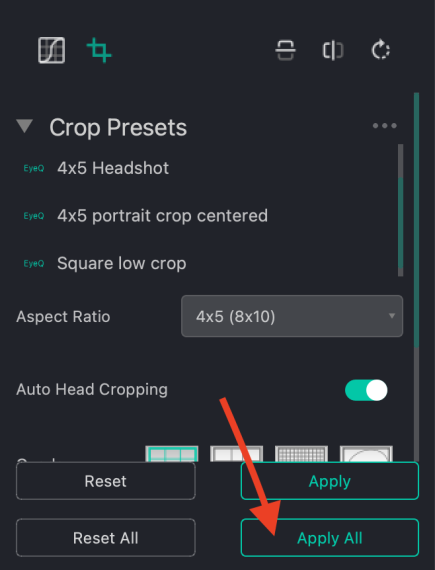
5. Click “Apply All” to apply auto crop to all images.
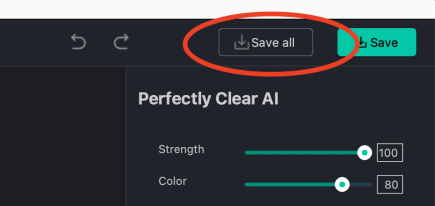
6. You have two choices to review your crops. You can either view them in Workbench or save them and view them in a folder. For speed, we recommend saving and quickly flipping through your folder. Click “Save All” in the top right to save the cropped images. Then, flip through them in your saved folder.
How to Make Adjustments After Applying Crop
After applying auto head cropping to all images, you can review the cropped images in Workbench and make adjustments to individual images before saving them.
To do so, after step #6 above:
- Click the arrows underneath the image (or the left/right arrow keys on your keyboard) to flip through images. (You can also quickly scan images by looking at the thumbnails)
- To make adjustments to an image, simply click the crop icon, adjust the crop box over the image, and click “Apply” (NOT “Apply All” – this will re-crop all images)