Presets can be tweaked according to your preferences and saved in Workbench and QuickDesk. You can save your preset in one of two...
Read moreHow Do I Use AI Preset Selection in Web API?
EyeQ’s AI Preset Selection is now available in the Web API!
This technology uses machine learning to detect image scenes, categorize them, and then apply the optimal preset automatically. In other words, different presets are automatically applied based on what scene is detected.
If you currently use our Web API, implementing AI Preset Selection is simple.
You can either not provide a preset or use preset=Universal, and AI Preset Selection will automatically turn on.
By default, the Universal group of presets is applied. The Universal group contains over a dozen scenes and is great for all kinds of photos from portraits to selfies, deserts to winter scenes, and flowers to food. We also have a “Pro” group that’s designed for professional photography (including school, wedding, sports, and event photography) and a “School & Sports” group designed for school portrait photography, however, this is not applied by default. If you’d like to implement the Pro or School & Sports groups, just use that name for the preset query parameter (example: preset=Pro). Learn more about Universal vs. Pro vs School & Sports groups here.
Customizing Presets in AI Preset Selection
You also have the option to customize your own presets for the scenes supported by AI Preset Selection. Use our Perfectly Clear Workbench application to customize any or all of the AI presets.
Save your custom presets in Workbench then export these to a .preset file, and upload to the Web API as a new AI ‘Preset Group’.
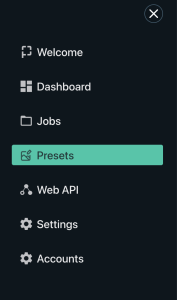
Find the “Presets” section in the menu of our Cloud Application:
Click “Add new preset” to upload your preset or AI Preset Group
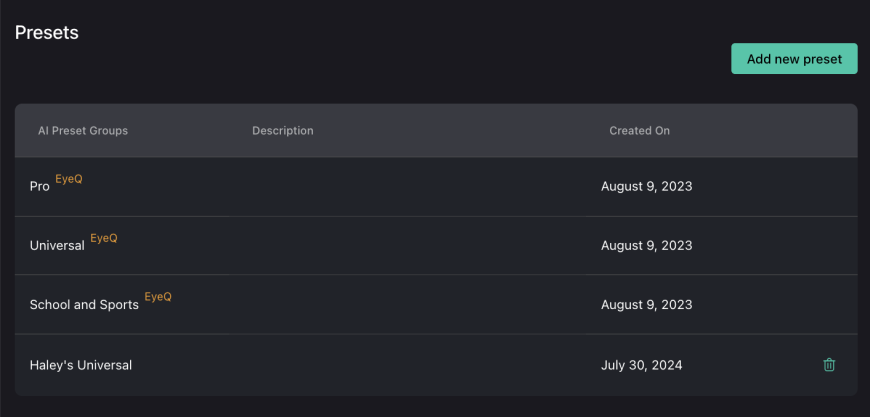
Then, select this with preset=Haley%27s%20Universal (replace “Haley%27s%20Universal” with the name of your .preset file, being sure to url-encode the name). Now AI Preset Selection will automatically apply your custom presets depending on which scene is detected in the image.